Embedded Development Workflow Analysis
Introduction
This document presents a comparative analysis of the development workflows of Seeed XIAO ESP32-C3 and Raspberry Pi Pico created by Fabacademy Students of the Hisar IdeaLab Fablab students. It explores technical specifications, performance, resource utilization, and development processes, providing visual representations where applicable.
Technical Specifications
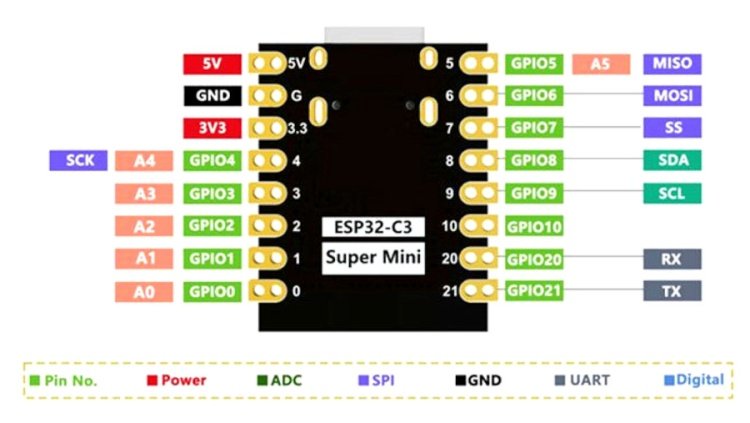
Seed XIAO ESP32-C3
The Seeed XIAO ESP32-C3 is a compact, powerful, and Wi-Fi-enabled microcontroller based on the ESP32-C3 chip.
Features:
- 16-pin package
- Clock Speed: 160MHz RISC-V processor
- Flash Memory: 4MB onboard QSPI
- SRAM: 400KB
- Operating Voltage: 3.3V
- GPIO Pins: 11 multi-function pins
- Wi-Fi and Bluetooth 5.0 LE support
Pin Configuration:
- VDD: Supply voltage
- GND: Ground
- Digital Pins: Configurable as input/output
- Analog Pins: ADC1, ADC2
- External Clock Pin: GPIO2 (for external oscillator use)
- Communication:
- UART: TX/RX available
- SPI: Configurable on multiple GPIOs
- I2C: Supports multiple devices
- Wi-Fi and Bluetooth 5.0 LE: Built-in wireless connectivity
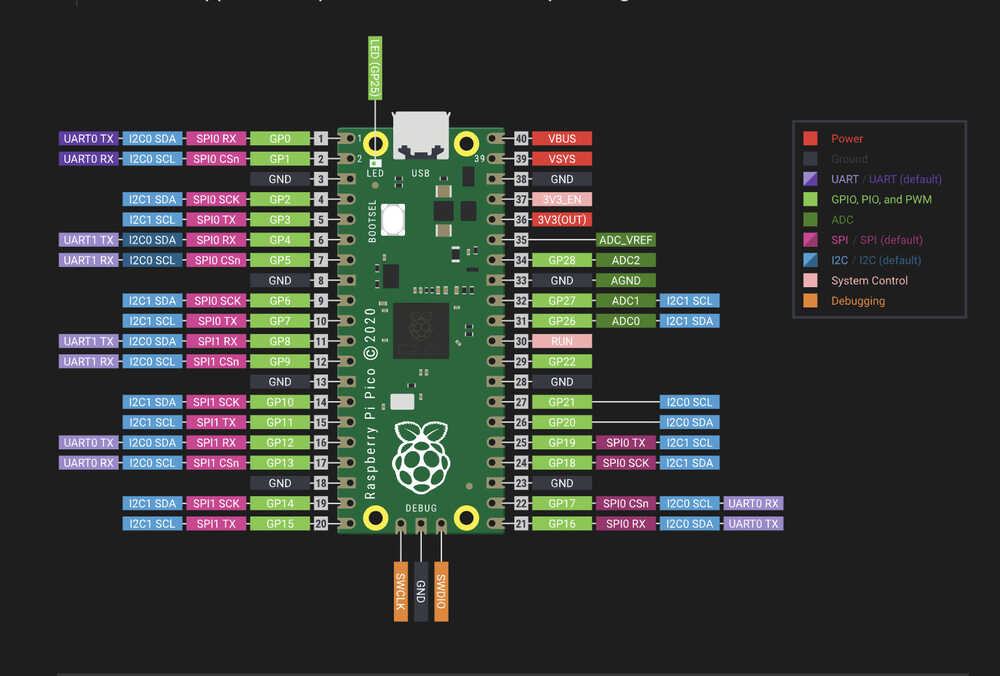
Raspberry Pi Pico
The Raspberry Pi Pico is a powerful microcontroller board based on the RP2040 chip, designed for high-performance embedded applications.
Features:
- 40-pin package
- Clock Speed: Up to 133MHz (configurable)
- Flash Memory: 2MB onboard QSPI
- SRAM: 264KB
- Operating Voltage: 1.8V to 3.3V
- GPIO Pins: 26 multi-function pins
Pin Configuration:
- VDD: Supply voltage
- GND: Ground
- Digital Pins: All GPIOs configurable as input/output
- Analog Pins: ADC0, ADC1, ADC2
- External Clock Pin: GPIO21 (for external oscillator use)
- Communication:
- UART: Multiple TX/RX pairs available
- SPI: Configurable on multiple GPIOs
- I2C: Supports multiple devices with flexible pin assignment
Hardware Comparisons
| Feature | Seeed XIAO ESP32-C3 | Raspberry Pi Pico |
|---|---|---|
| Processor | ESP32-C3 (RISC-V) | RP2040 (ARM Cortex-M0+) |
| Architecture | 32-bit RISC-V | 32-bit ARM |
| Clock Speed | 160MHz | 133MHz |
| RAM | 400KB | 264KB |
| Flash Storage | 4MB | 2MB |
| GPIO Pins | 11 | 26 |
| Communication | I2C, SPI, UART, Wi-Fi, BLE | I2C, SPI, UART |
| Power Consumption | ~80mA (Wi-Fi active) | ~100mA |
| Price | ~$6-$10 | ~$4-$10 |
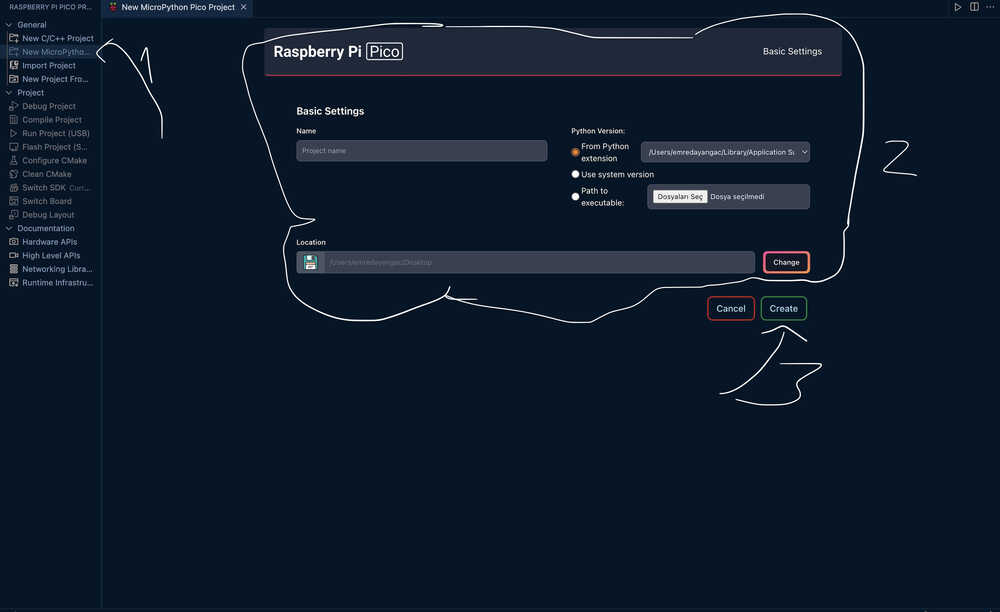
Programming
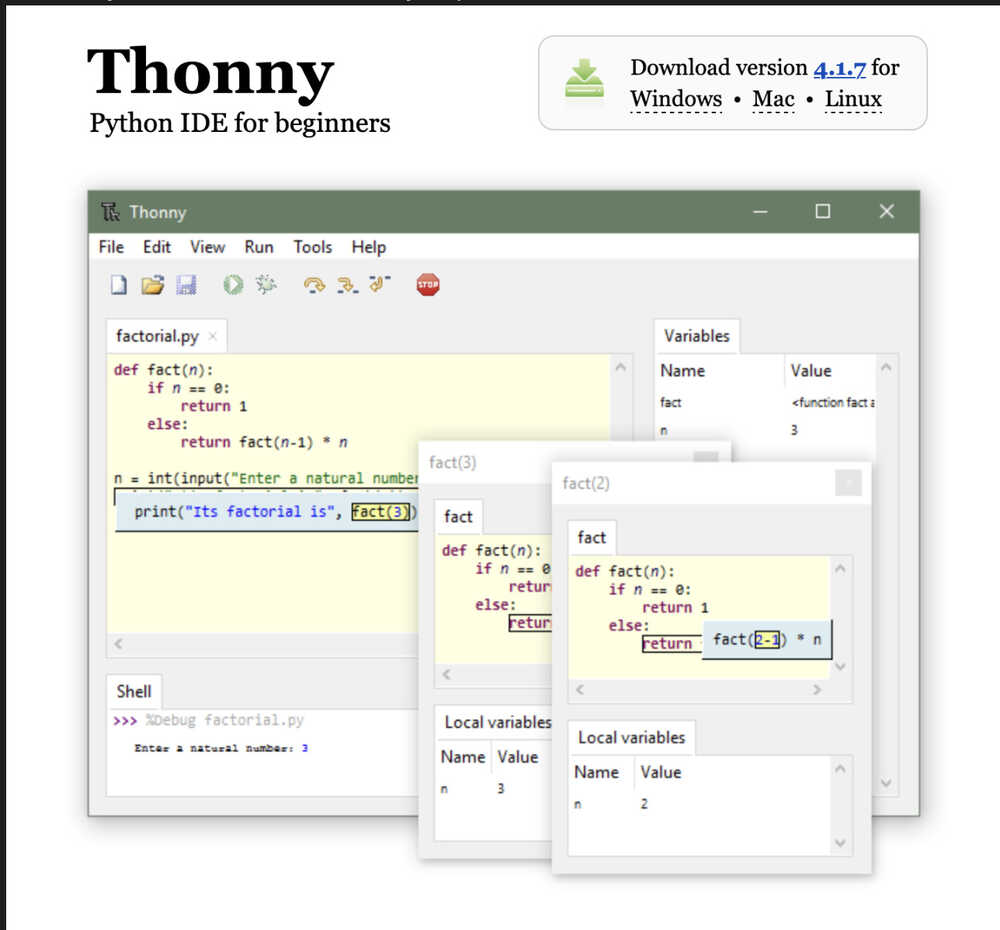
Programming with Thonny for Raspberry Pi Pico
Installing Development Environment
Install Thonny:
- Download and install Thonny from thonny.org.
- Ensure Python is installed as Thonny requires it.
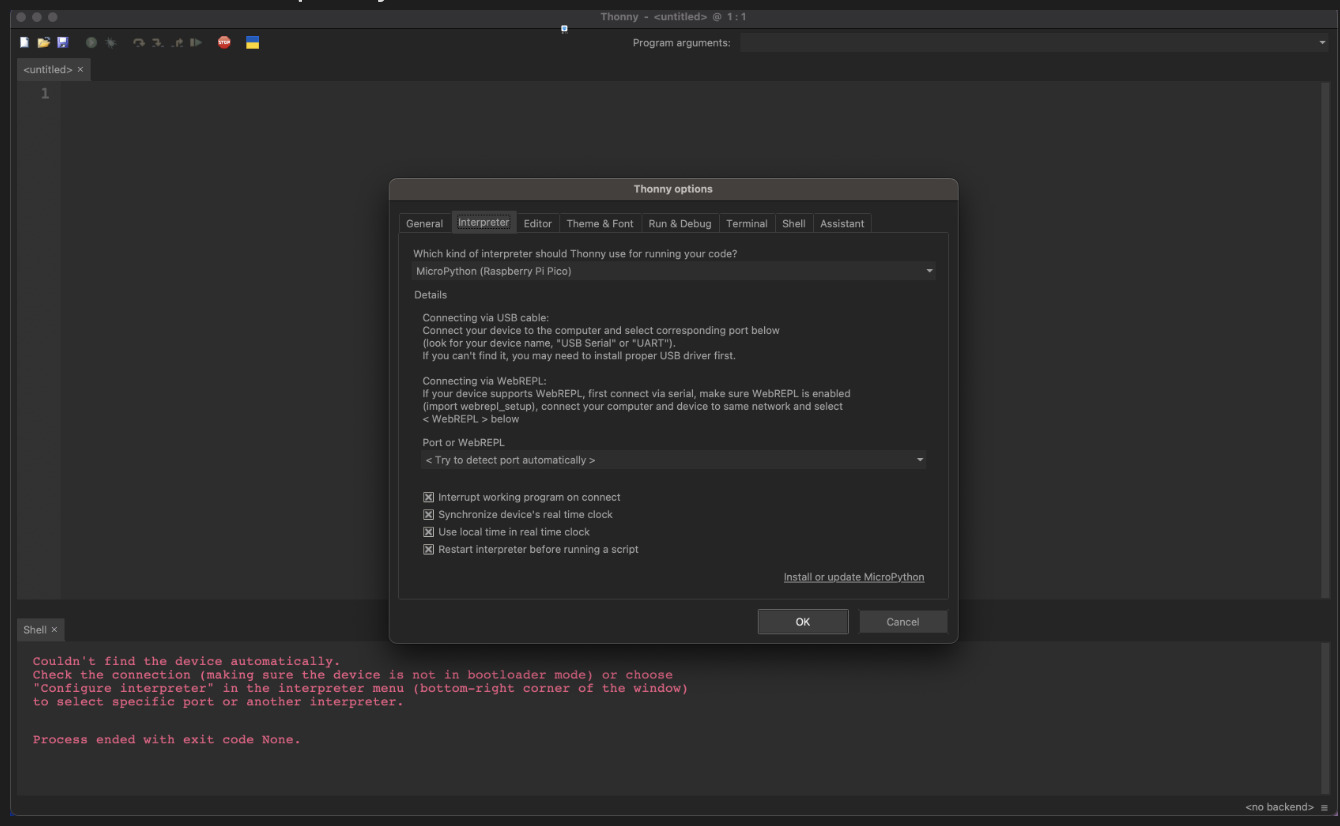
Set Up Thonny for Pico:
- Open Thonny and go to
Tools>Options. - Select Interpreter and choose
MicroPython (Raspberry Pi Pico). - Connect the Raspberry Pi Pico via USB and ensure it's detected.
- Open Thonny and go to
Writing and Uploading Code
Creating a New Script
- Open a new script and write the MicroPython program.
- Save the file with a
.pyextension.
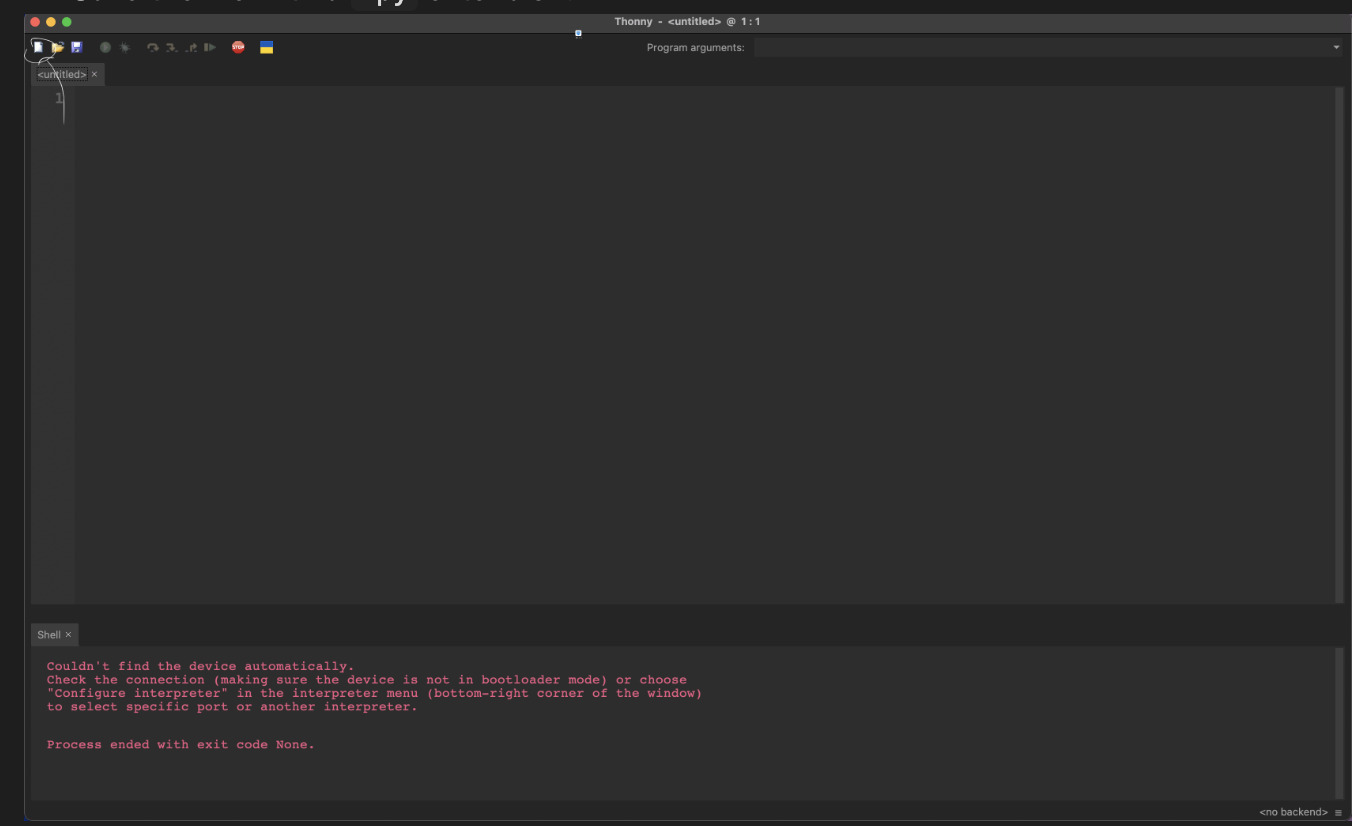
Uploading the Code
- Click
Runto execute the script directly on the Pico. - Save the script onto the Pico’s filesystem if persistence is required.
Example Code: Led On&Off
from time import sleep
from picozero import pico_led

while True:
    pico_led.on()
    sleep(0.1)
    pico_led.off()
    sleep(0.1)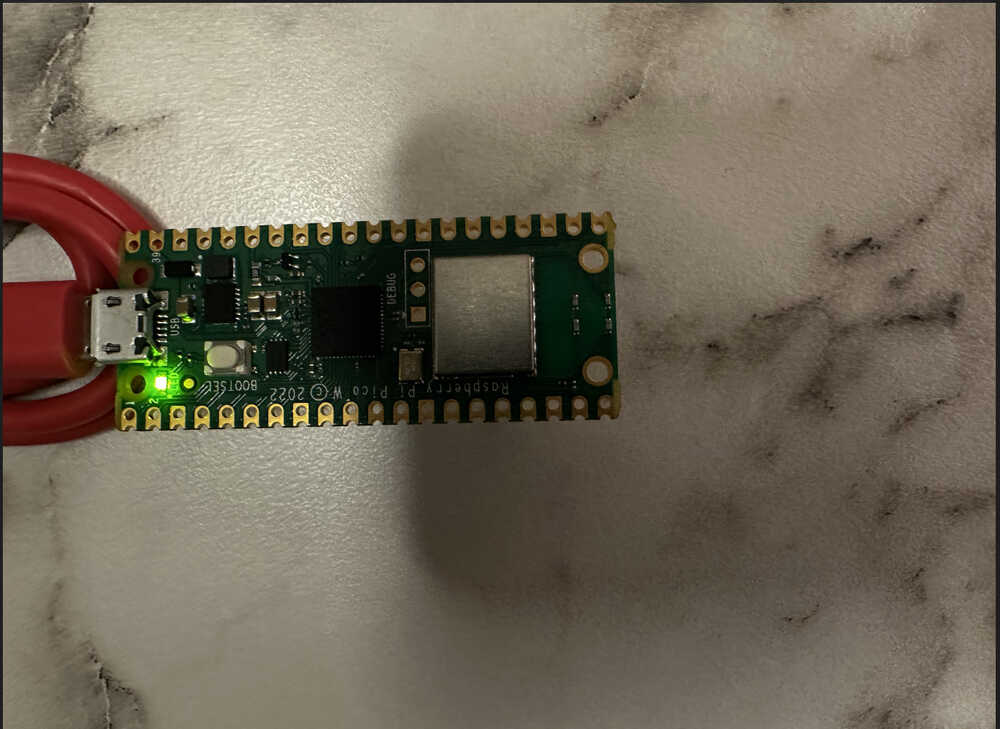
Debugging and Serial Output
- Click
Using the REPL (Read-Eval-Print Loop)
- Open the Shell in Thonny to interact with the Pico.
- Type Python commands to test GPIOs and other functionalities live.
Using Print Statements for Debugging
- Insert
print()statements in the script to observe values. - Monitor the output in the Shell.
- Insert
Flashing a New Firmware
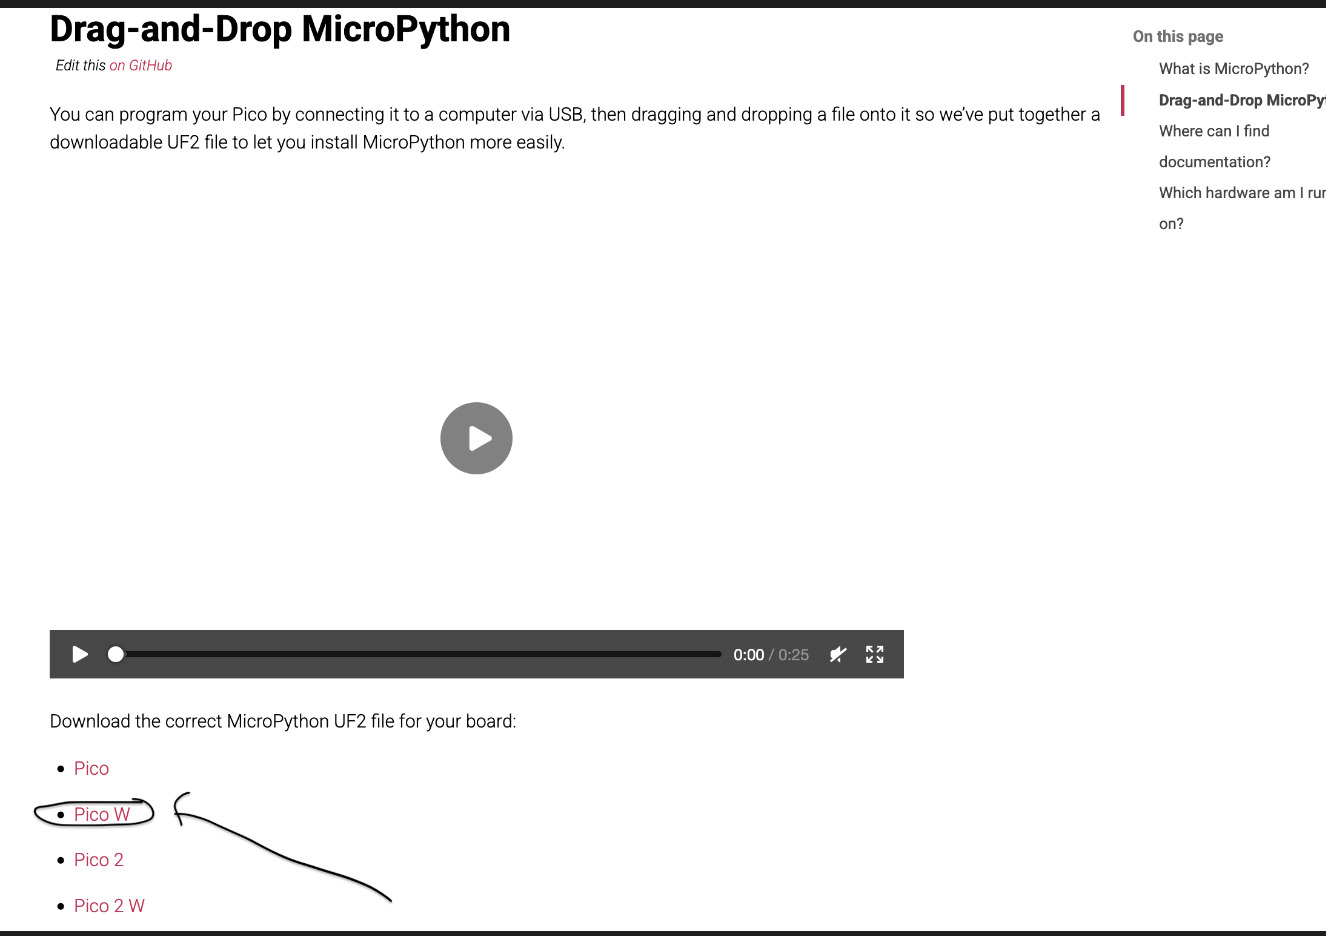
- Download the latest MicroPython
.uf2file. - Hold the
BOOTSELbutton and connect the Pico via USB. - Drag and drop the
.uf2file onto the Pico storage.
- Download the latest MicroPython
Programming with Arduino IDE for Seed XIAO ESP32-C3
Installing Development Environment
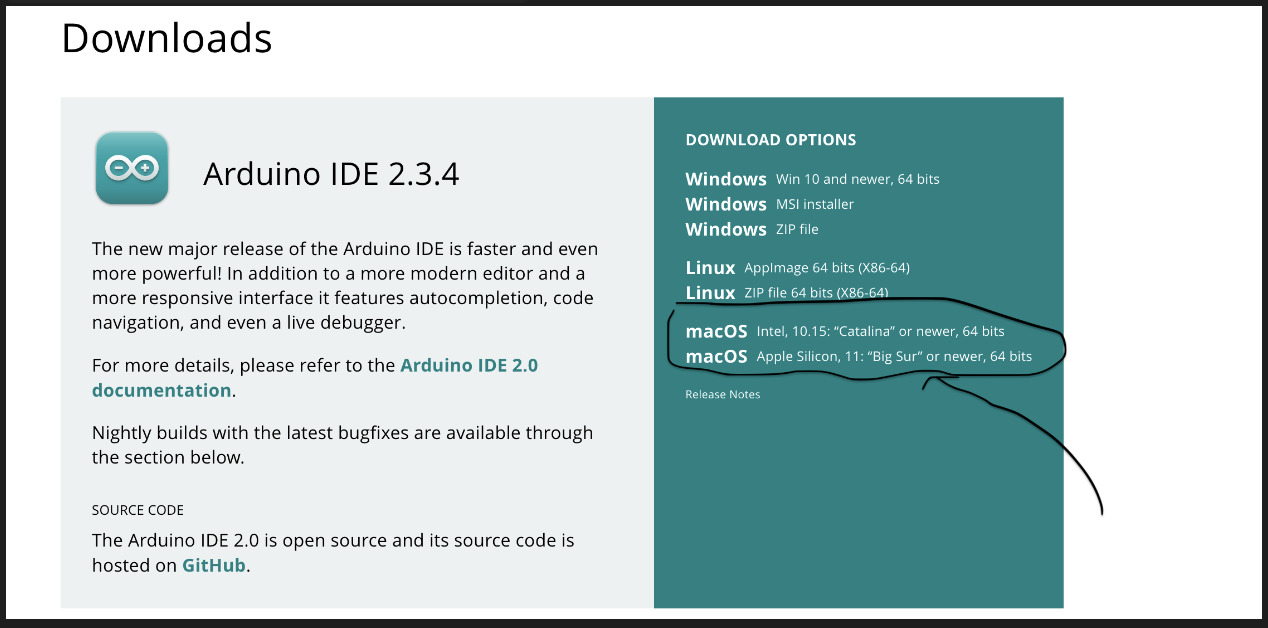
Install Arduino IDE:
Download and install the latest Arduino IDE from arduino.cc.
Open Arduino IDE and go to
Preferences.Add the ESP32 Board Manager URL to the
Additional Board Manager URLsfield:
https://raw.githubusercontent.com/espressif/arduino-esp32/gh-pages/package_esp32_index.json
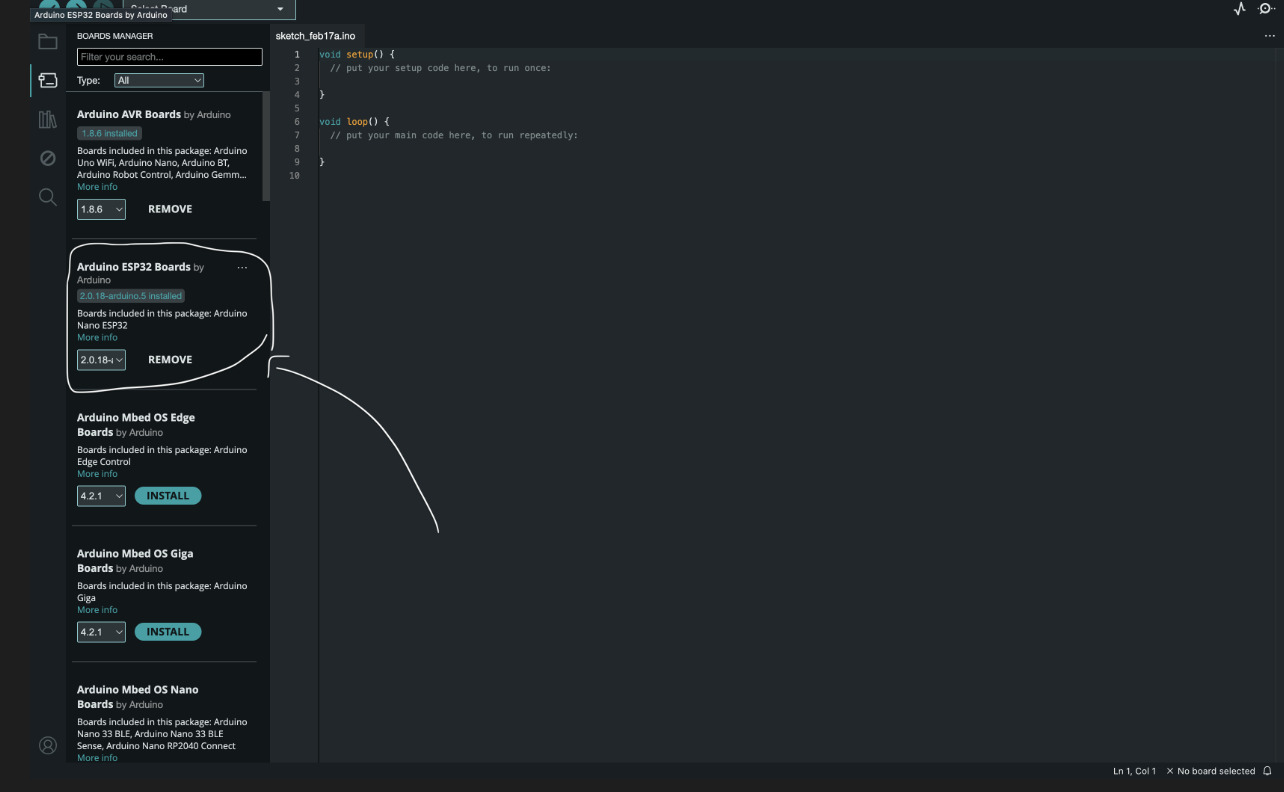
Install ESP32 Board Definitions:
Go to
Tools>Board>Boards Manager.Search for ESP32 and install the ESP32 package.
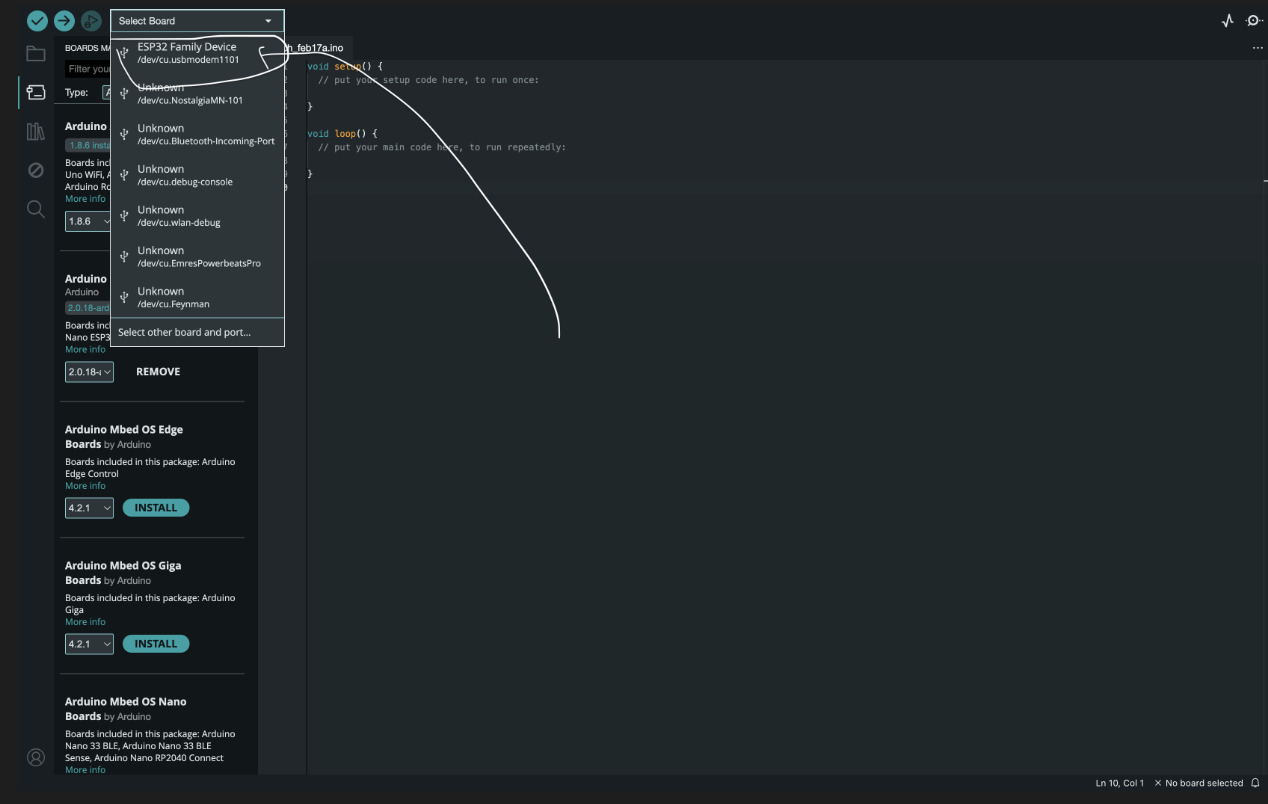
Select Seeed XIAO ESP32-C3 as the board.
Writing and Uploading Code
Creating a New Sketch
Open a new Arduino sketch.
Write the program using standard Arduino functions.
Example: Blinking an LED.